Seeing Stripes
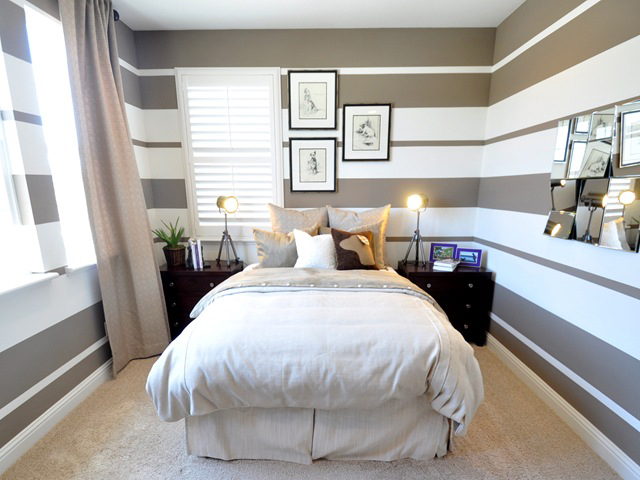
One of the easiest and most inexpensive ways to add interest to a space is by the addition of stripes to the walls! Although painting out all four walls of a room in stripes is a significant commitment and much more dramatic, it can be great fun and create a one of a kind room, like this great space from www.yellowsubstudio.com.
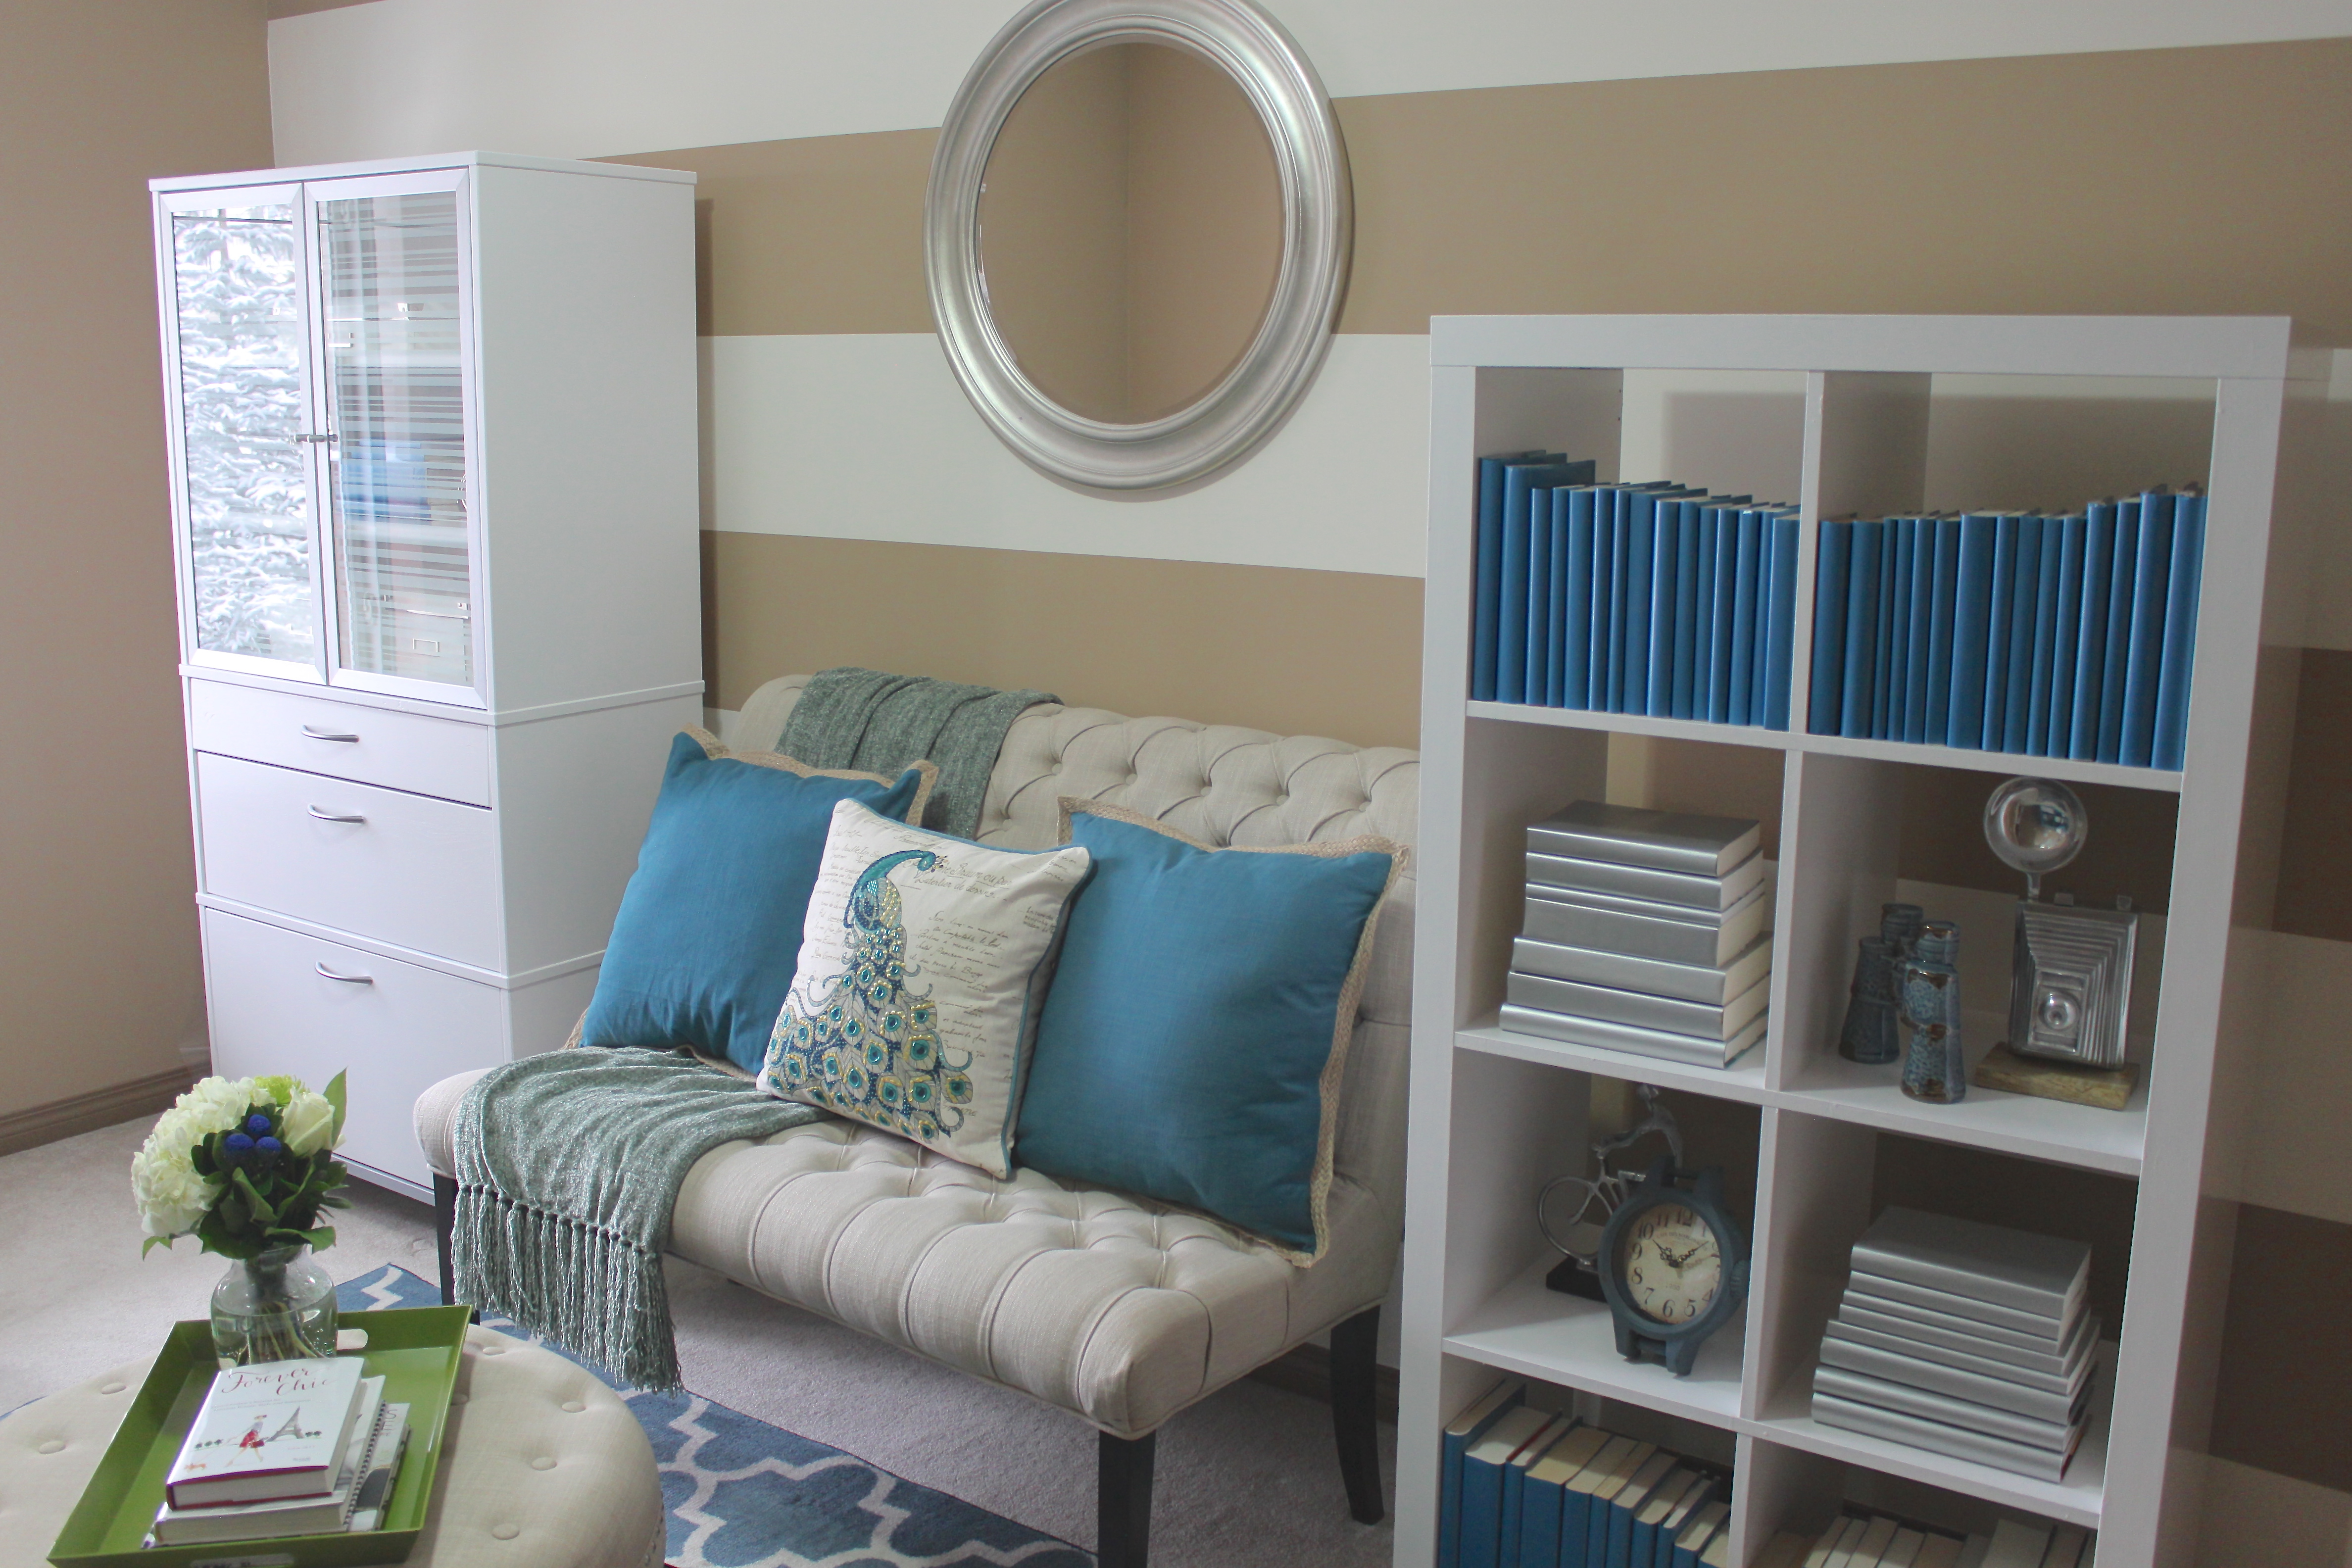
I decided to stick to one wall … for now 😉 My inspiration for the stripes came from wanting to brighten up my office without having to paint out the entire room and cover up some patched holes.
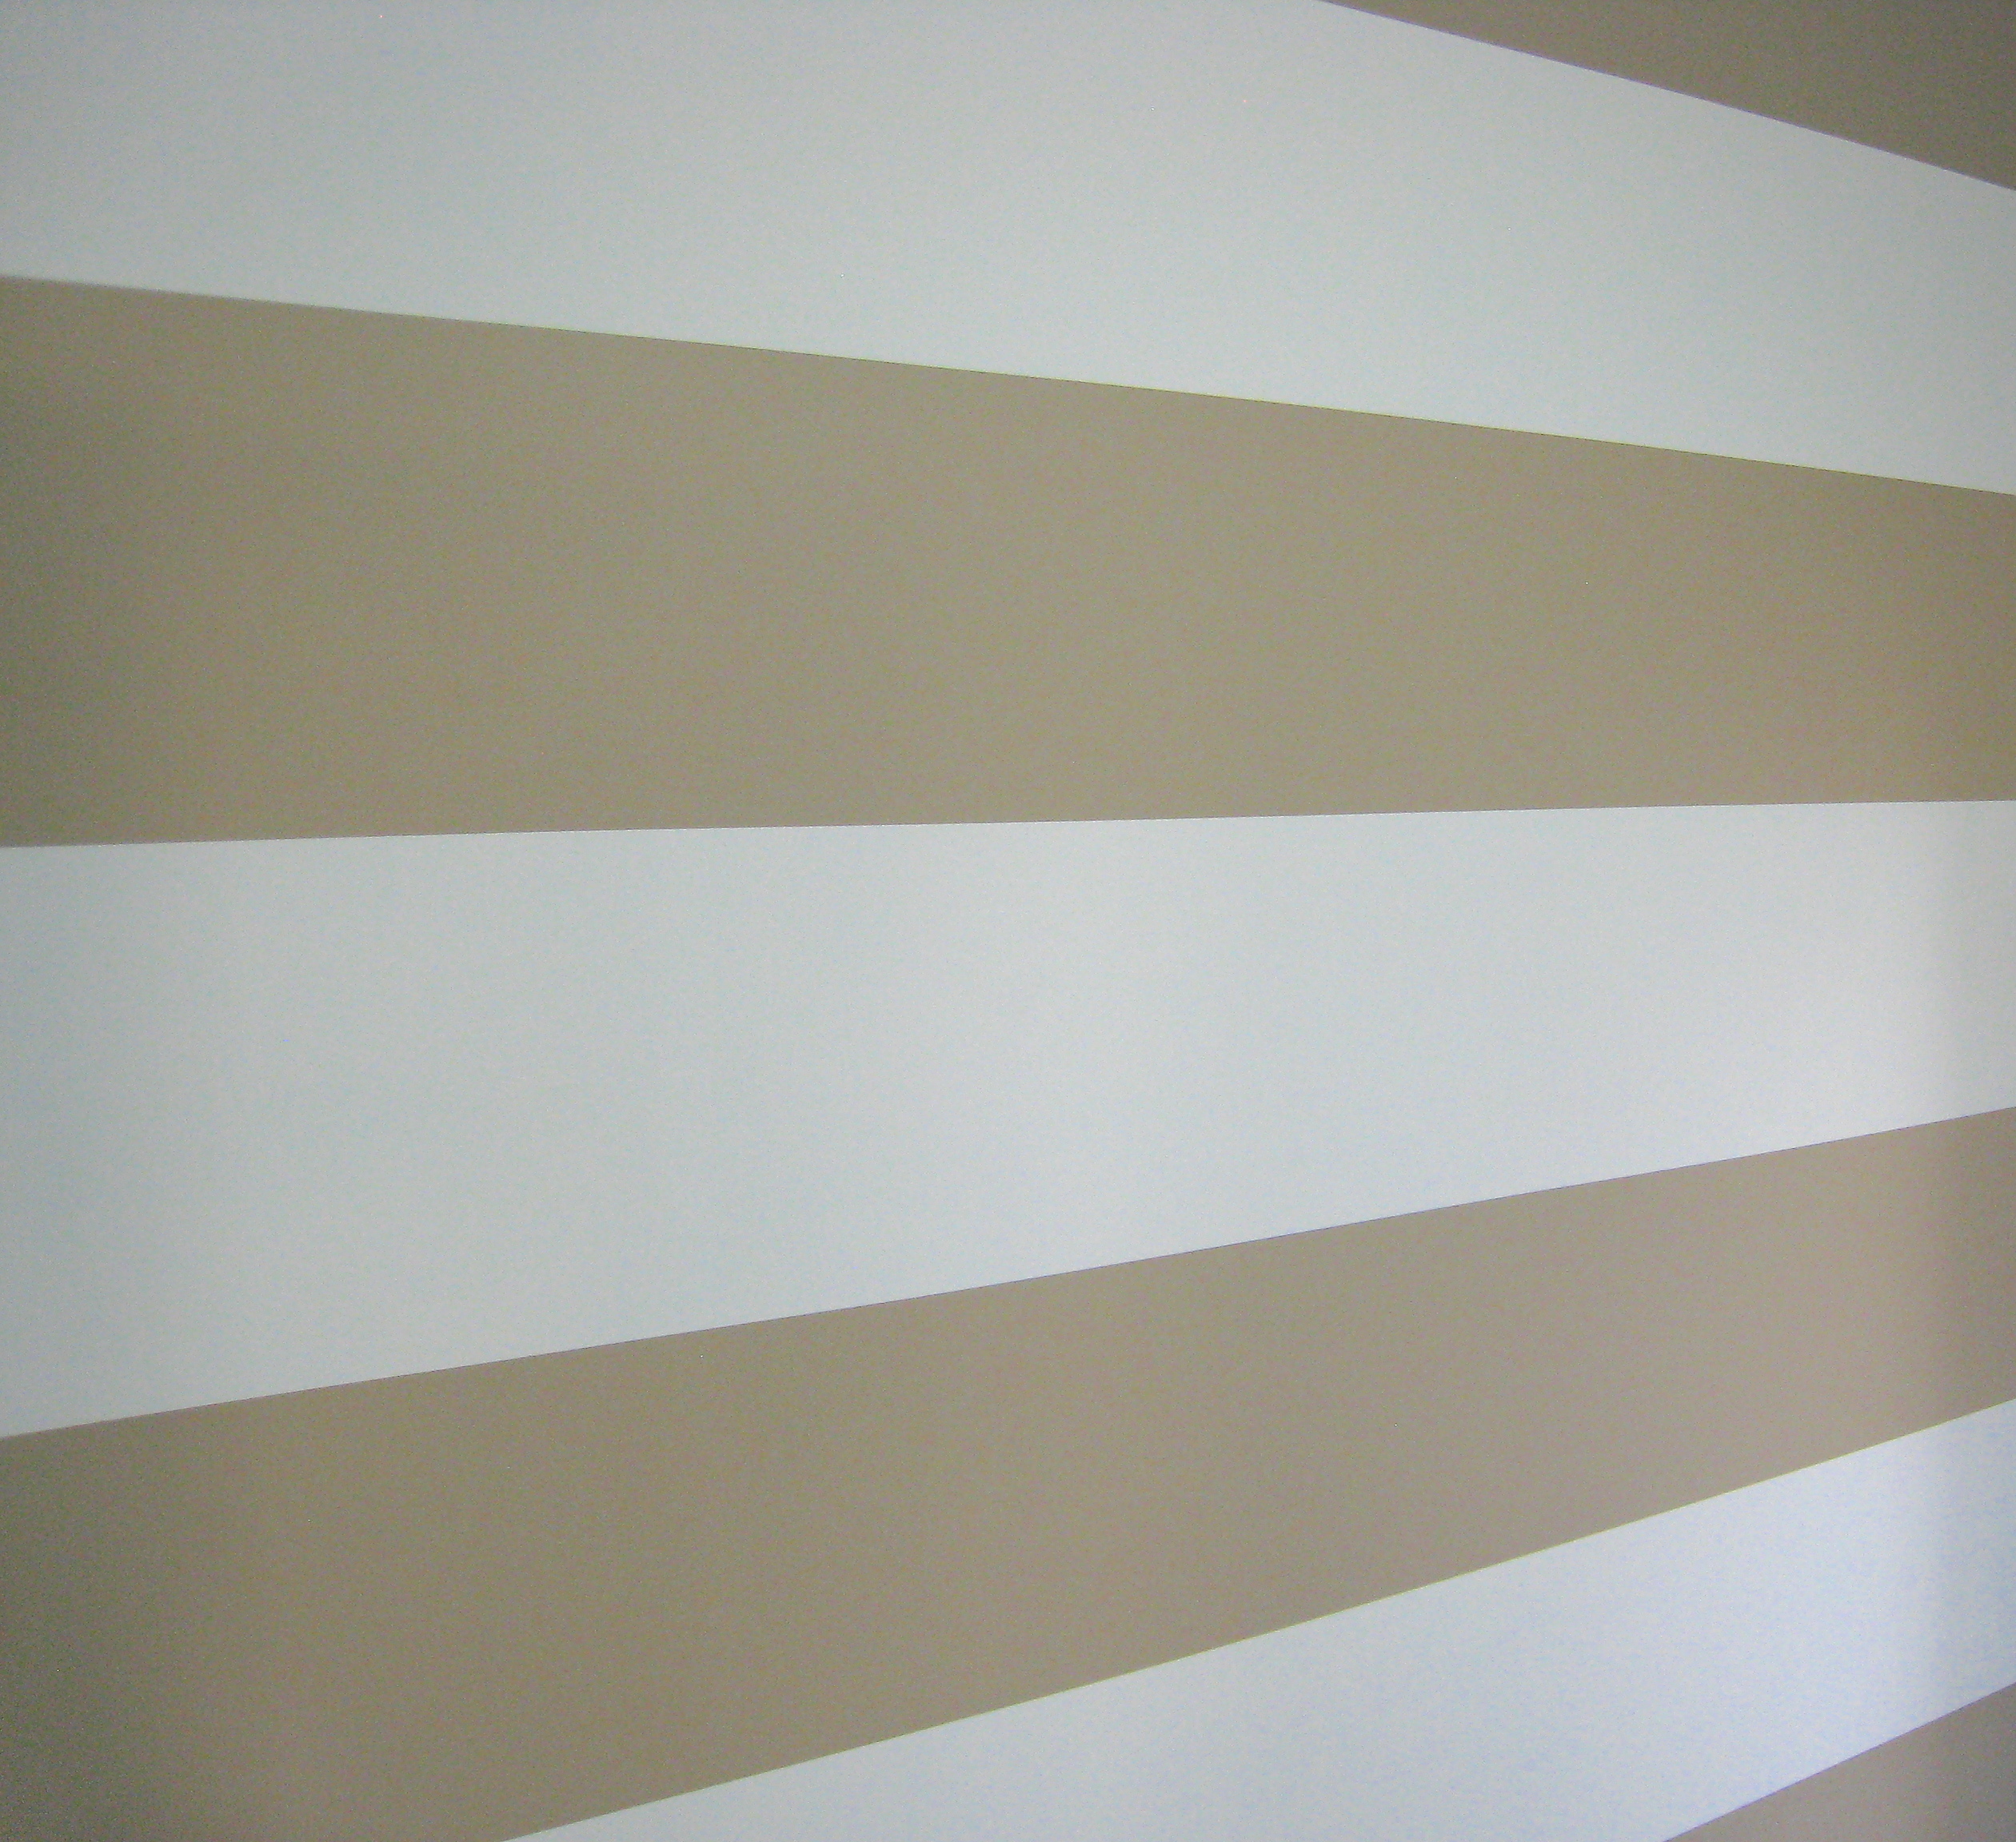
Cream stripes were my solution. Heavy Cream from Behr to be precise. One of my new favorite neutrals, lovey with the existing taupe color.
To begin, I patched up holes left behind from shelves that used to hang on the wall! A quick wipe and the wall was ready. To keep things simple I measured out 12 inch increments on the wall so that each strip would be a foot wide. Since most walls an even number of feet, this works out well. The last strip at the bottom is slightly narrower than the others to account for the baseboard. If you wanted to get really precise, you could measure out the height of your wall and then divide it by the number of stripes you wanted. Or if you’re feeling really adventurous, you could mix and match the widths like they did above. Once the increments were marked, I used a level to draw out the lines on the wall.
It was at this point that my love affair with Frog Tape began, truly amazing stuff and the only way to ensure your paint won’t bleed through. I simply taped off the stripes just under line I had drawn and I was ready to paint. I lucked out in that the patching from the holes fell in the middle of most of the stripes and only two sections of the taupe needed to be re-painted.
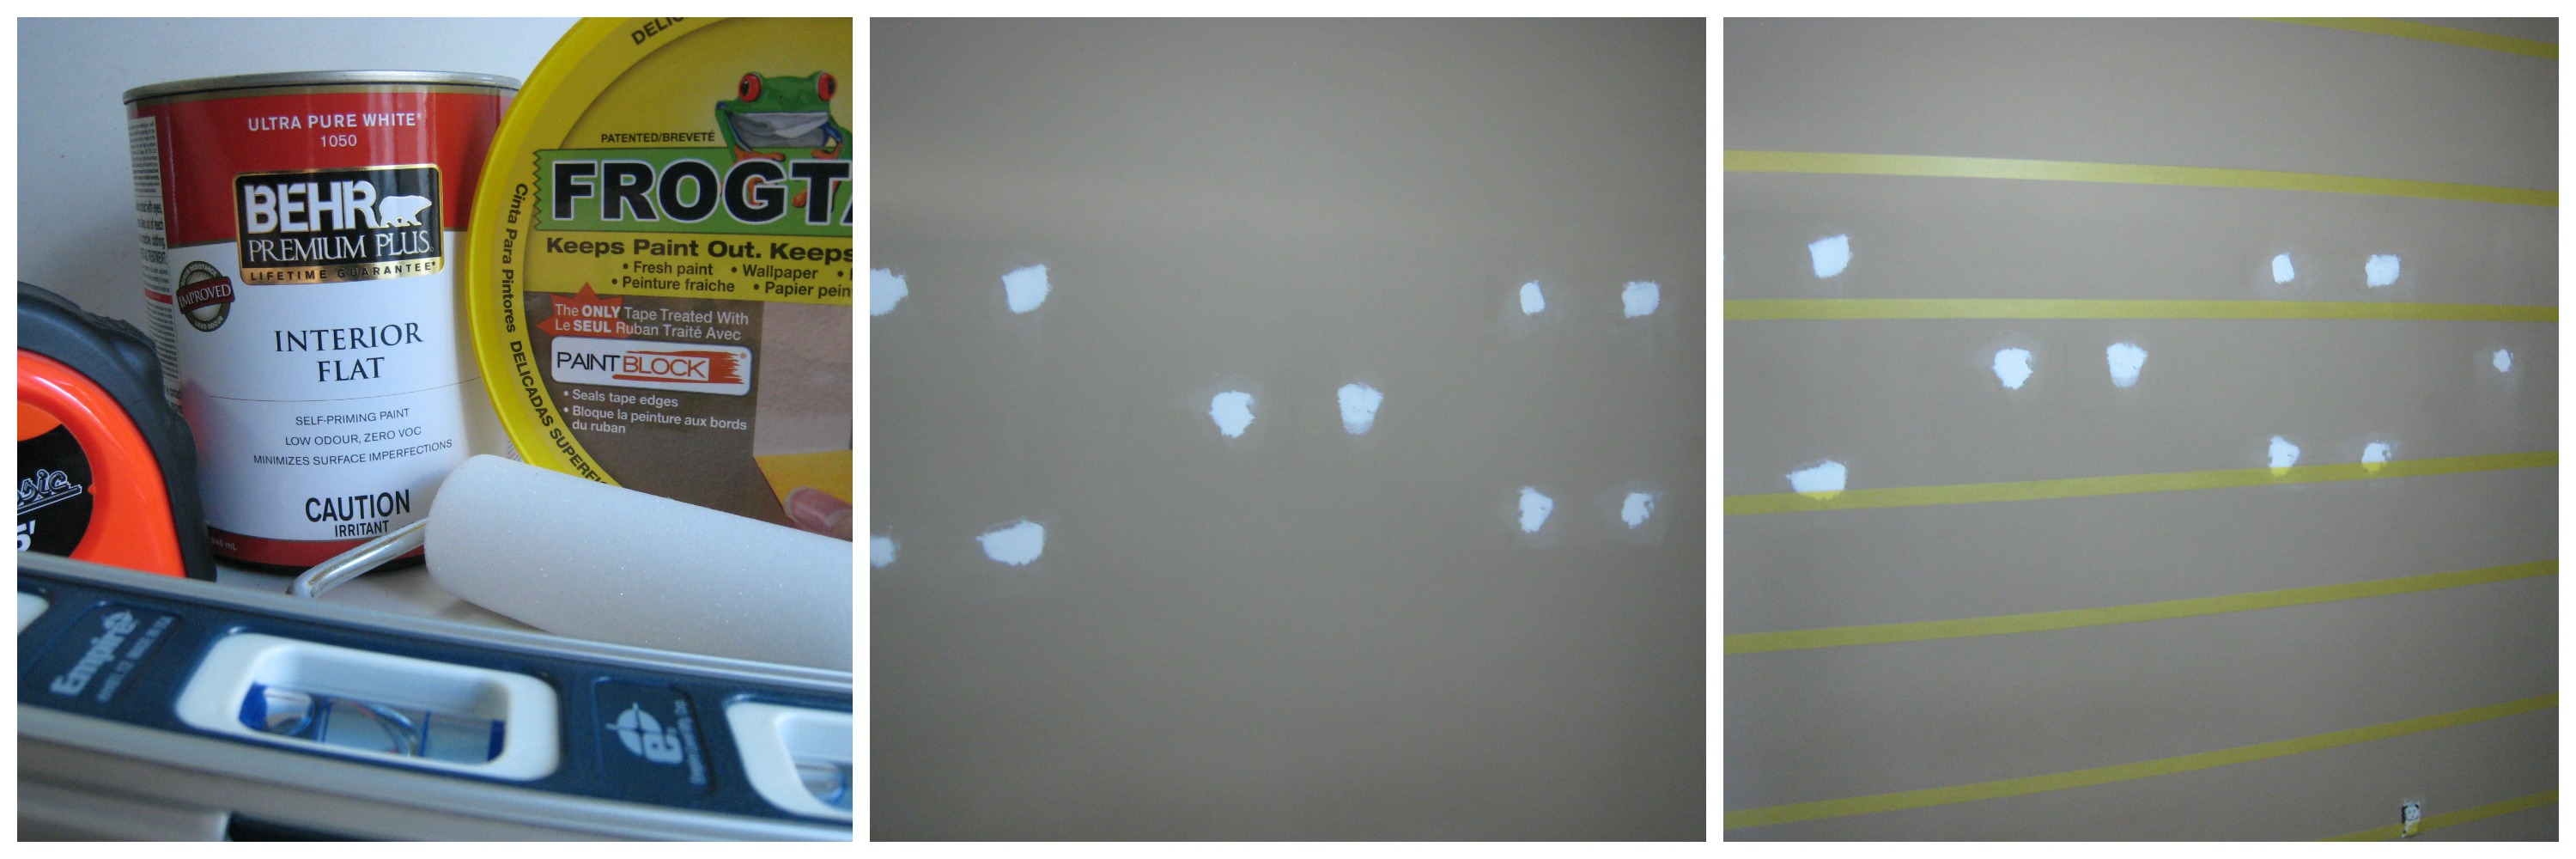
I painted out the cream sections first with two coats, allowing the second coat to dry for about 36 hours; the makers of Frog Tape recommend 24 hours before removing the tape, but I wanted to be extra sure. Then with a little prayer and bated breath, I peeled back the tape to great relief and excitement – no bleeding! A quick happy dance and I taped off the two taupe sections that needed to be re-painted, a coat of paint and there was no sign of the shelves that once hung on that wall. Another 36 hours and I had my striped wall!
No Comments
Sorry, the comment form is closed at this time.